Lg Washer Detergent Dispenser Removal

Dispenser Does Not Dispense Completely Lg Front Load Washer Lg Usa Support
Washing Machine Not Dispensing Detergent Into Washer Full Of Water How To Fix
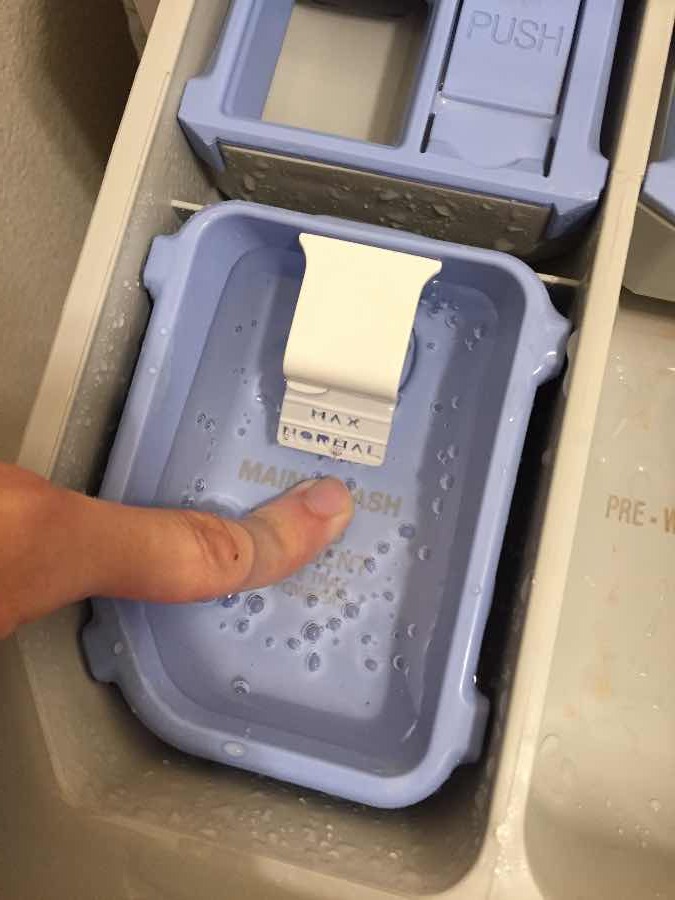
Water Sitting In My Lg 2650 Washer S Liquid Detergent Cup
How To Clean Your Front Load Washing Machine House Becomes Home Interiors
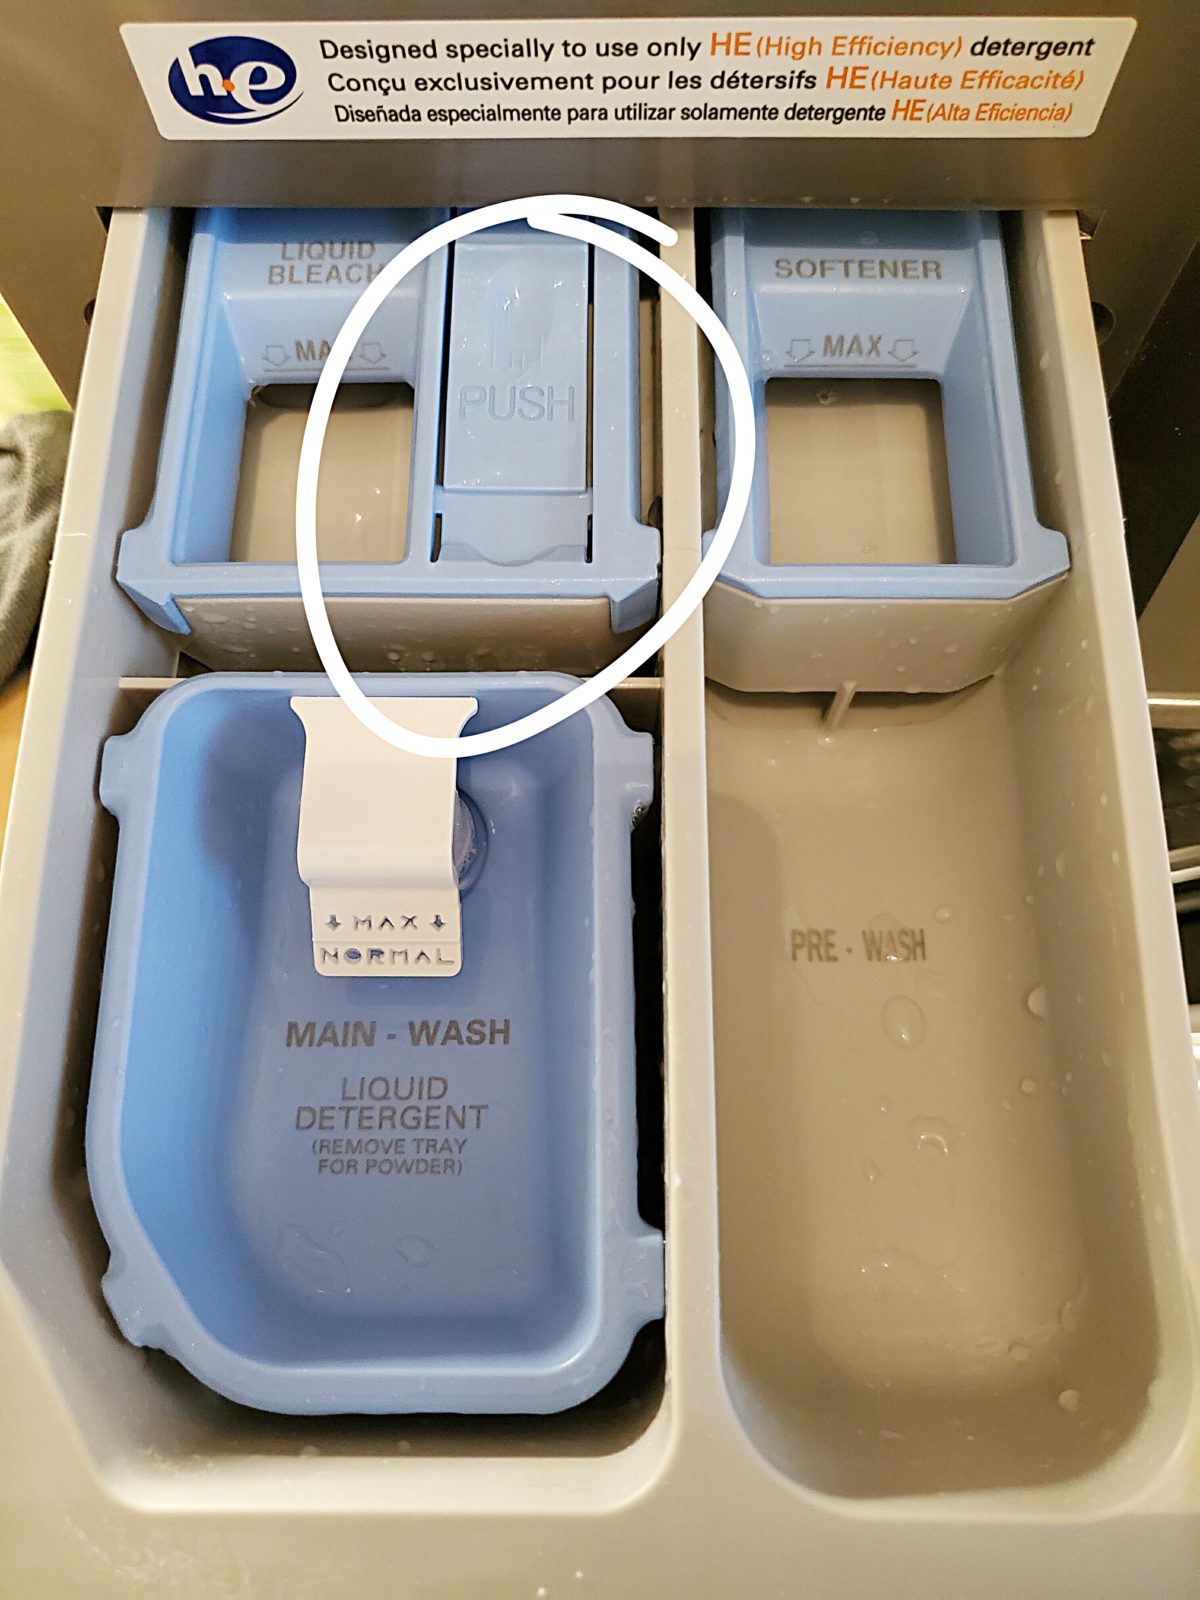
Detergent Additive Usage Front Load Washer Lg Usa Support
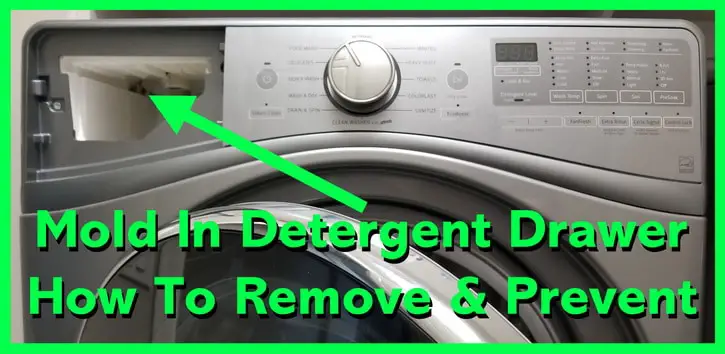
How To Remove And Prevent Black Mold In Washing Machine Detergent Drawer

I bought the washer 3700hva on jan 29th and there was water in the liquid soap dispenser after the first load.
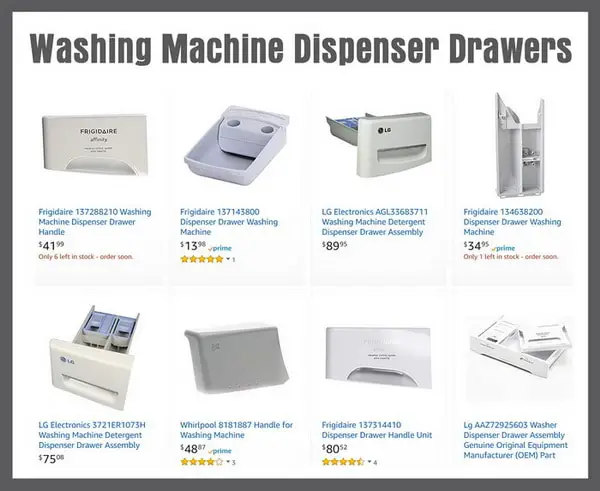
Lg washer detergent dispenser removal.

How To Fix The Soap Dispenser On Your Washing Mach Youtube

How To Replace The Soap Dispenser Housing On An Lg Washing Machine Youtube

Help Library Youtube Video Lg Front Top Load Washer Dispenser Maintenance In Lg Washing Machine Lg Hong Kong
Lg Acz72910401 Washer Bleach Replacement Dispenser Lg Usa
Source : pinterest.com
